
Water marble nail art looks amazing and you might think you need to go to a nail salon to achieve the look. In reality, you can do water marble nail art at home! Below are 9 easy steps to get you there.
- Container with water
- Clear base coat
- White nail polish
- 2-3 Colored nail polish of your choice
- Top coat
- Latex barrier (or use tape)
- Tooth picks
Paint a clear base coat on your nails.
Step 2:
Paint white nail polish on your nails (2 coats recommended).
Step 3:
Use latex barrier (or you can use tape) to cover the area of skin around your nail and around your finger, basically you want to protect the area of skin that will be dipped into water.
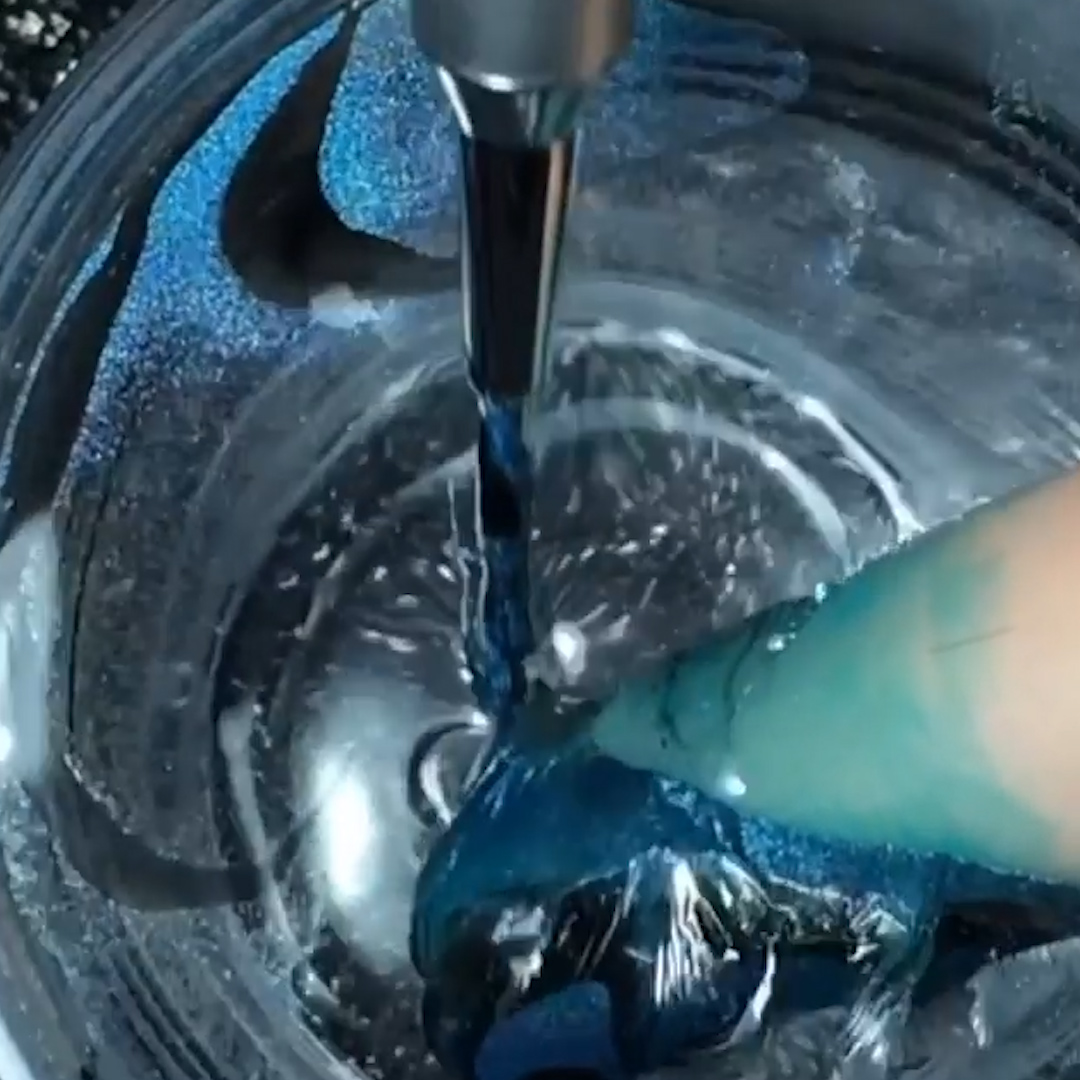
Step 4:
Add your colored nail polish to the water by holding it 1cm above the water surface and letting the polish drip in. Add your second colored nail polish the same way, in the center of the water.
Tip: Use a tooth pick to stir the water surrounding the circle of nail polis to make the ring expand, DO NOT touch the polish itself.
Step 5:
Place a toothpick on the water and drag it from the outer layer of nail polish to the center. Continue to make a flower pattern.
Step 6:
Dip your finger on the nail polish pattern and into the water at a 45 degree angle.
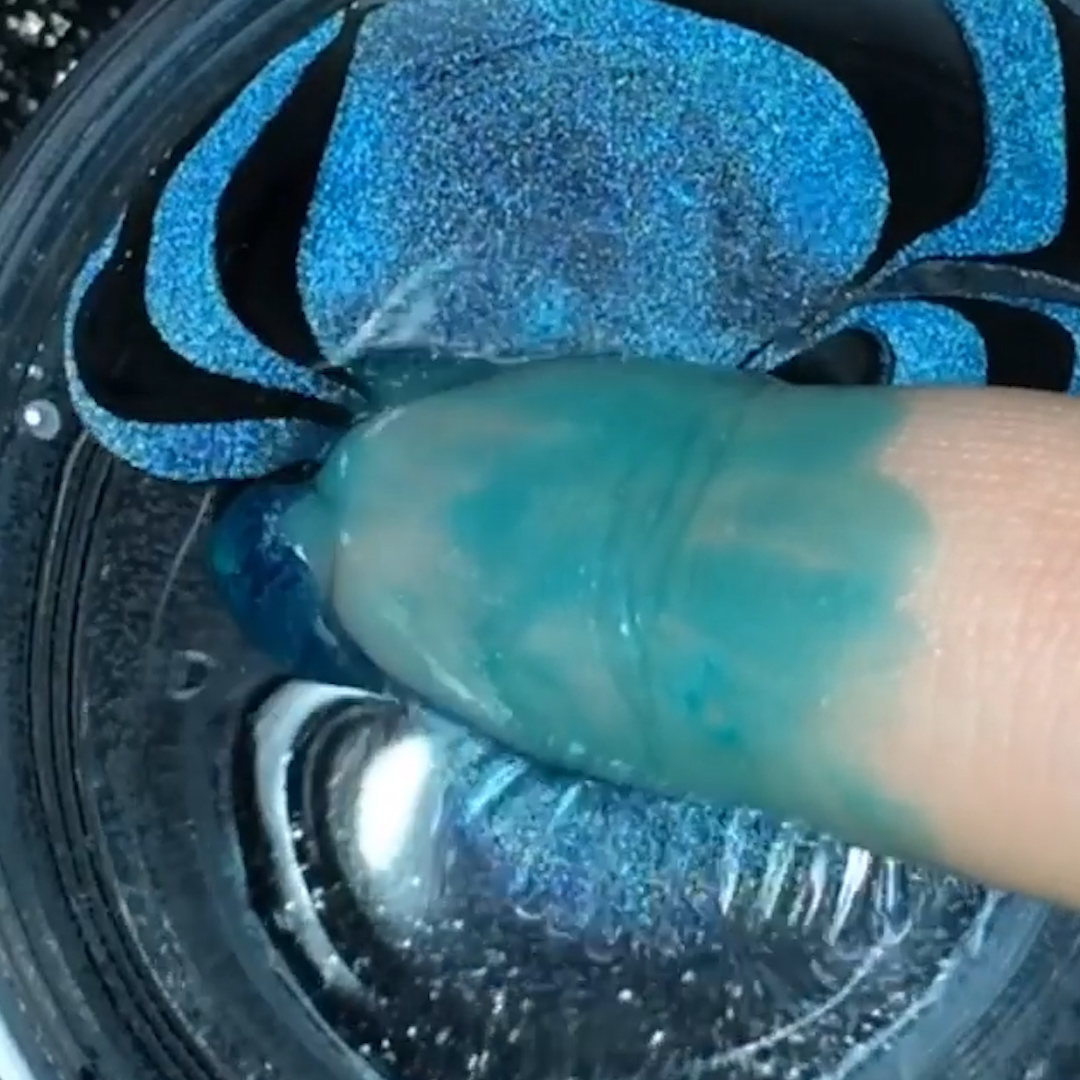
Step 7:
Keep your finger in the water while using a toothpick to stir the unused nail polish to pick it up from the water. After, you can take your finger out and be careful not to smudge the pattern.
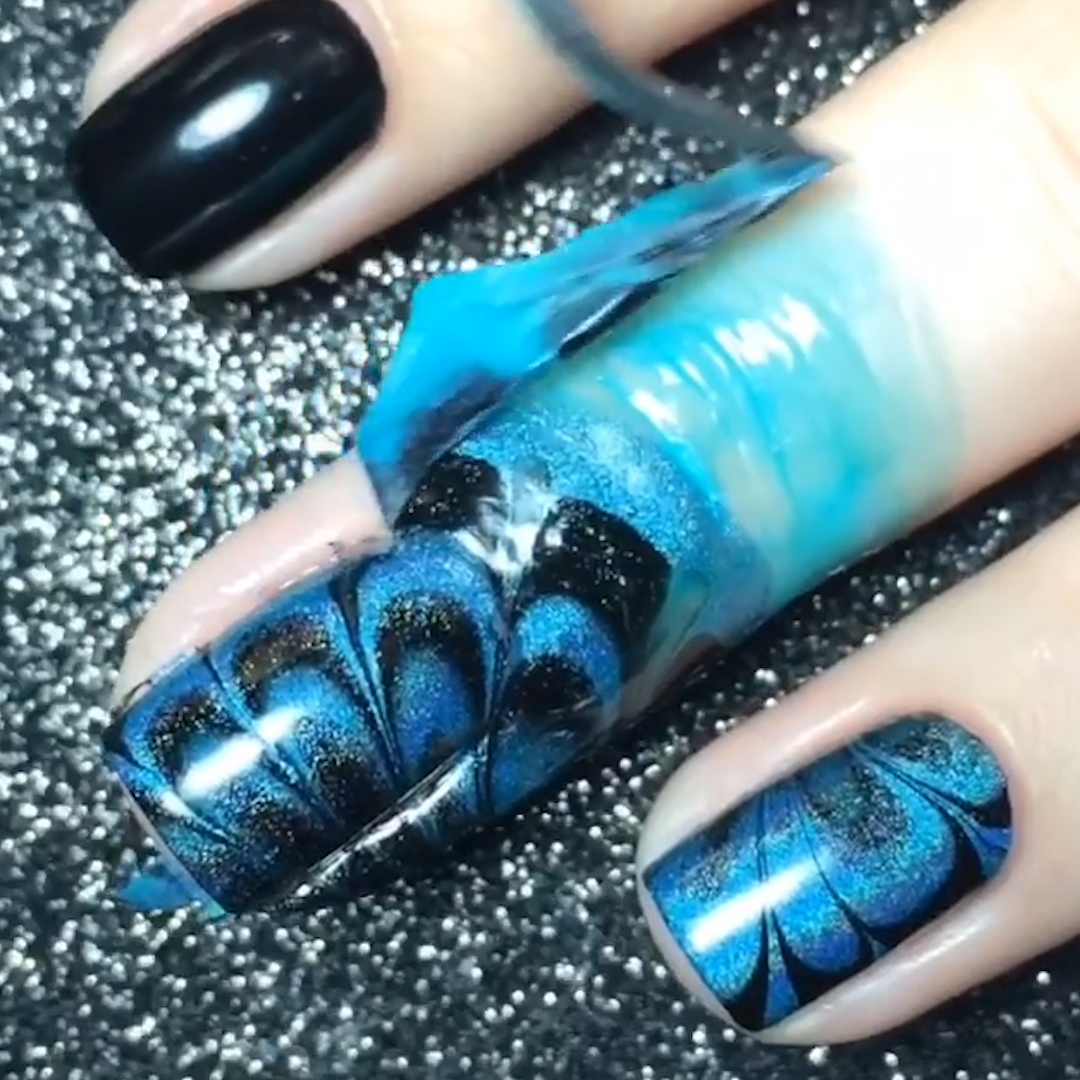
Step 8:
Peel the latex barrier (or tape) off.
Step 9:
Apply top coat after the nail polish is dry.
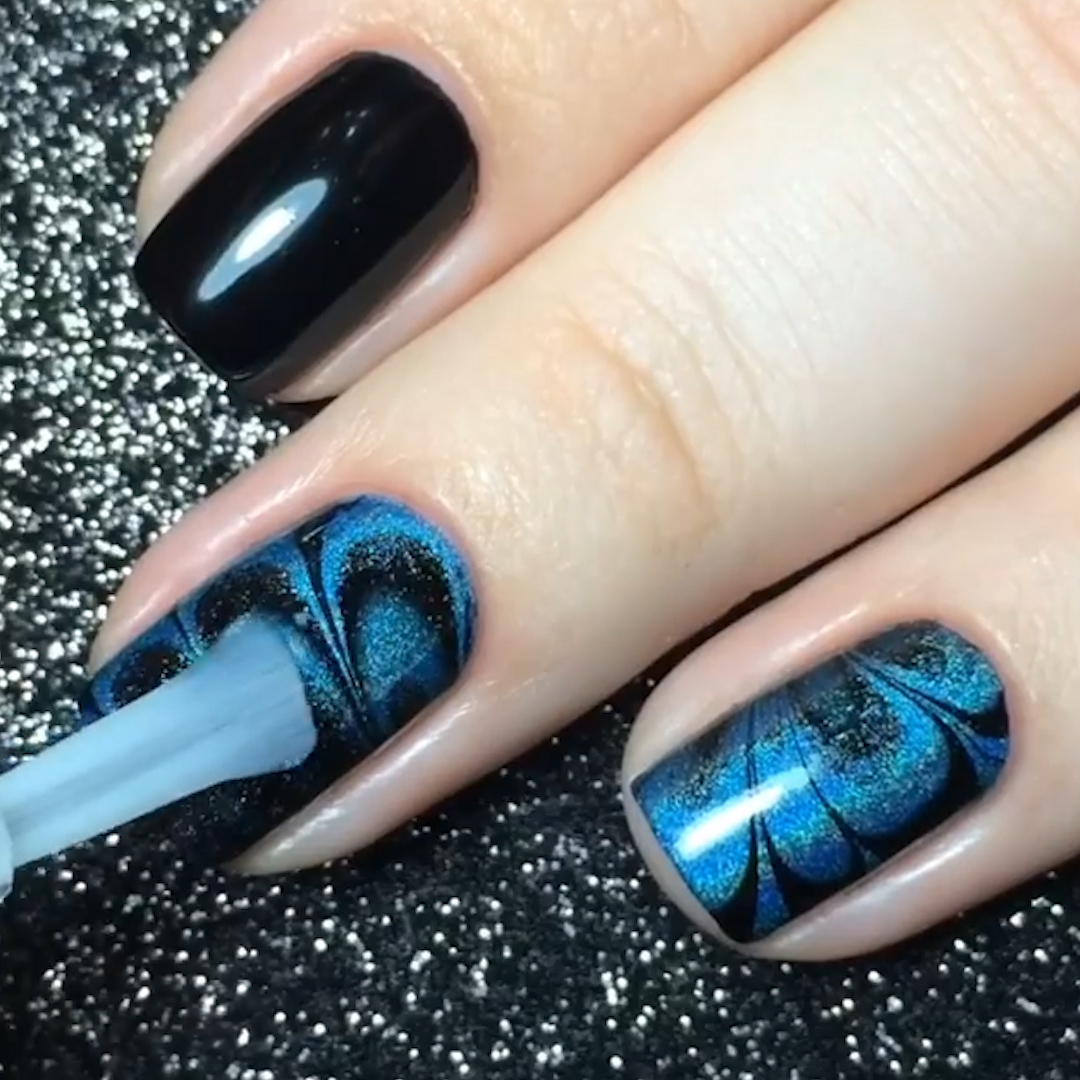
Now you're done, great job! ?